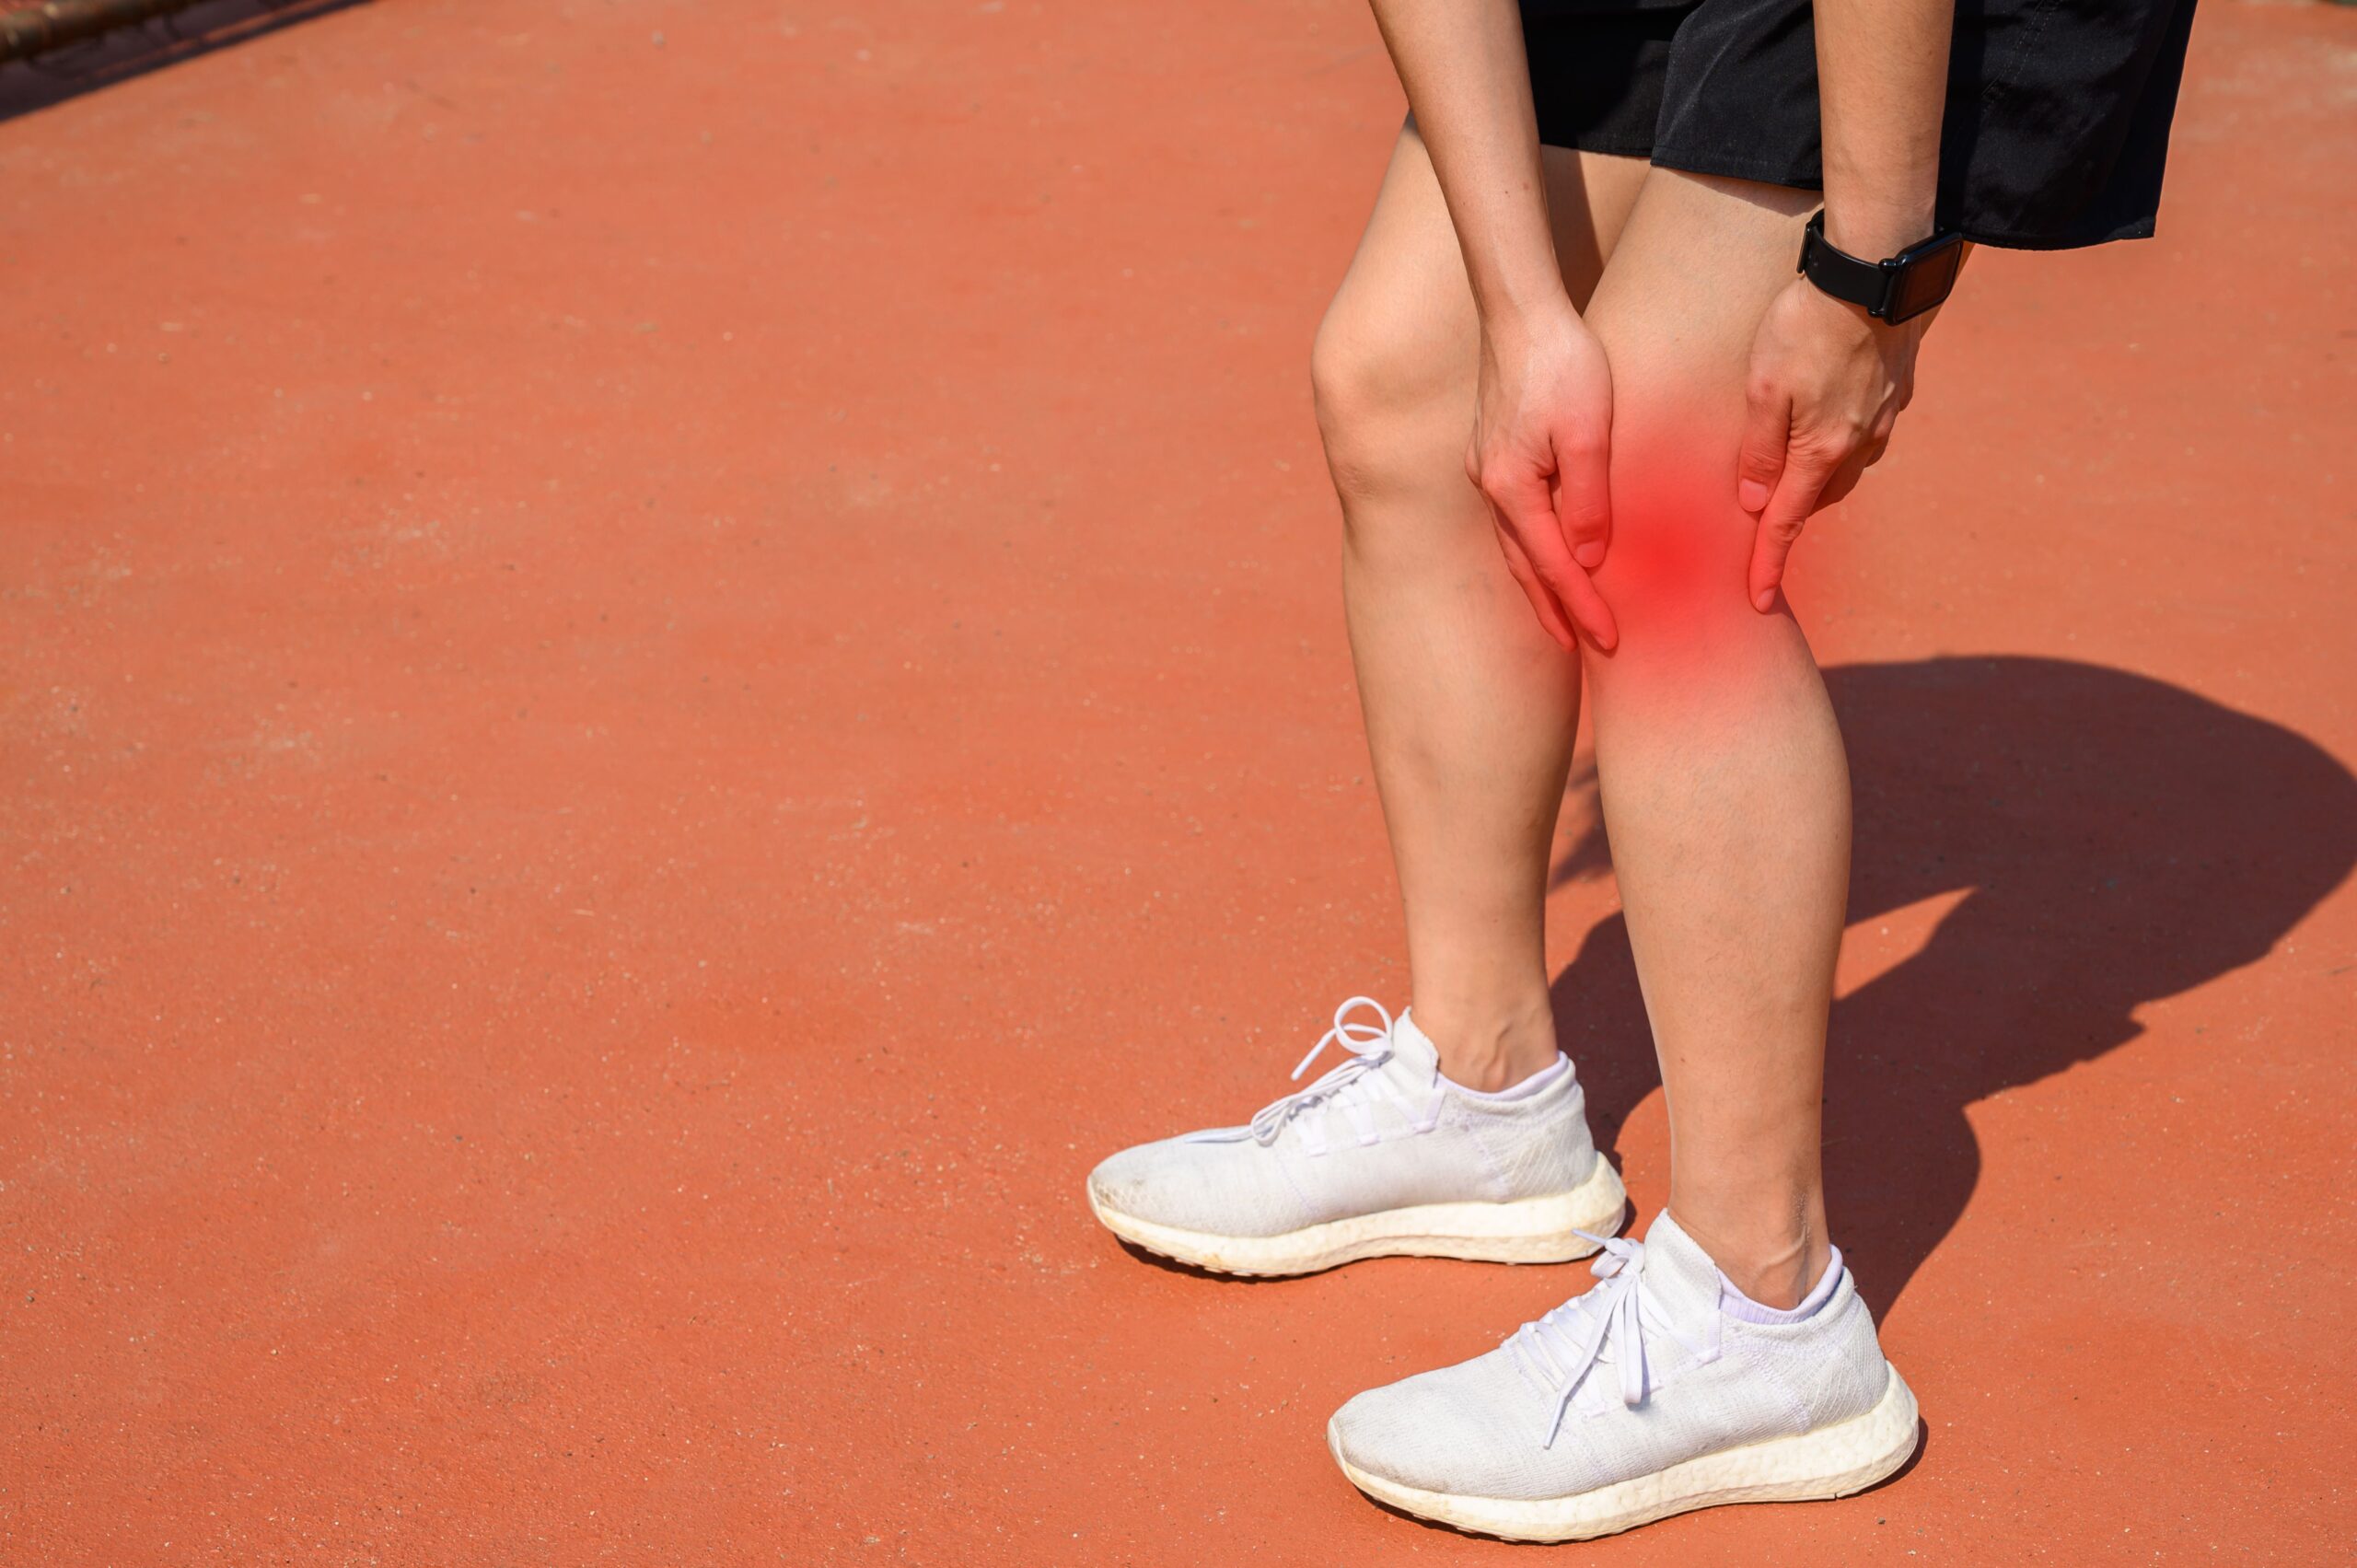
Do you suffer from pain on the outside of your knee? IT Band syndrome is one of the most common causes of knee pain in runners and cyclists. It is also prevalent in soccer, hockey, and basketball players. Most people believe stretching or massaging the IT band will help. But if you have ever tried this, you know it only gives you partial relief. Your best bet is to improve strength and re-educate how you move. This article shows you how to do 5 of the best neuromuscular re-education exercises for IT band syndrome.
What is IT Band Syndrome?
Your iliotibial (IT) band is a thick long soft tissue structure extending from your pelvis down to below your knee. It has many attachments to other structures like your gluteus maximus muscle, TFL muscle, knee cap, and lower leg bones.

It used to be thought that tightness in your IT band led to “friction” around the structures of your knee. This is why so many people try treatments like injections, massage, taping, and stretching. Unfortunately, these treatments offer little relief.
We now understand that tightness and friction are not the root of IT band syndrome. Instead, the primary mechanism is now believed to be the compression of a small fat pad between the IT band and femur (thigh) bone on the outside of the knee. Compression is not from IT band tightness. Instead, compression of the fat pad occurs as a result of poor control of the femur underneath the IT band.
Poor Hip Muscle Function Proven in Athletes with IT Band Syndrome
A 2023 review of all the available evidence on IT Band Syndrome further refutes the idea of tightness and “friction” as the source of knee pain. Researchers concluded that female runners with IT Band syndrome have less hip internal rotation when running. Also, and more importantly, injured runners had weakness in their hip abductor muscles.
The gluteus medius and minimus are the primary hip abductors. These important muscles control the position of the pelvis and femur during running, jumping, and other sport-related activities. Injured athletes must strengthen and re-educate these muscles to unload painful tissues around the knee, like the IT Band.
Hip Muscle Re-Education Exercises for IT Band Syndrome
Your initial priority is to improve the strength and endurance of your hip abductor muscles. This is best achieved with exercises done lying down in non-weight-bearing positions. This way knee pain does not interfere with your exercise tolerance.
Once you have established a sound foundation, progress to include weight-bearing exercises. This requires greater strength, coordination, and control.
All exercises for IT band syndrome must be done with proper alignment of your lower body. This means you maintain a level pelvis and your knees stay in line with your hip and ankle. Be conscious to not allow your pelvis to drop or your knee to cave inwards.
Side-Lying Hip Abduction
Begin by lying on one side with your bottom hip and knee bent. Keep your top knee straight. Also, align your entire thigh and leg with your hip and trunk (a straight line). Point your toes forward to orient the hip in slight internal rotation. This increases gluteus medius activation and decreases TFL activation.
Initiate the movement by lifting your top leg about 30 degrees. Hold this position for a count of two and then slowly lower your leg. Ankle weights can be added for resistance once you can do 15 proper repetitions. We recommend 3 sets per der day.
It is important to remain completely on your side with one hip stacked on top of the other. Allowing your pelvis to roll back during the movement is the most common mistake with this exercise. Also, as the muscle tires, your leg will drift forward into hip flexion. It is important to maintain your leg lined up or slightly behind your trunk and upper body.
Side Plank
Lie on your side with your elbow lined up under your shoulder. Keep your knees straight so your lower body is lined up with your trunk and upper body. Prop your upper body up on your elbow. Now, the only body parts touching the floor are your elbow and foot.
Maintain alignment of your body in this position for at least 10 seconds and no more than 30 seconds. Perform 10 repetitions on one side before switching over to the other.
It is important to maintain normal relaxed breathing during this exercise. Avoid holding your breath and a rigid body. Move in and out of the plank position slowly with each repetition. Control your movement. Quality is more important than quantity.
1-Leg Bridge
Lie on your back with both hips and knees bent. Perform a bridge with both legs. Raise your hips to a neutral trunk, hip, and knee position. A common mistake is to excessively arch your lower back. Be sure to achieve the bridge position by extending through your hips.
From the bridge position, straighten your knee of one leg while keeping your upper thighs parallel. Be careful not to allow your pelvis to drop on one side. Hold this position for 2 seconds then return the leg to the bridge position. Finally, lower the body back down before repeating another repetition on the same side.
Complete 10 to 15 repetitions on one side before beginning with the other leg. Do 2 to 3 sets once per day. Resistance can be added by placing a band around the thighs just above the knees.
Side Stepping in Squat (Band on Feet)
Loop a small resistance band around your feet. Positioning the band in this manner maximizes gluteus medius activity and minimizes TFL muscle activity.
Start in a semi-squat position and maintain it throughout the exercises. Keep tension on the band as you slowly side-step to one side. Take 3 slow and controlled steps before reversing back to the starting position. Cycle through side-stepping to each side 3 to 5 times without coming out of the squat or losing tension on the band. Do 2 to 3 sets each day.
It is important to control the position of your knees during this exercise. Maintain alignment between your hip, knee, and ankle. Do not allow your knee to cave inwards. Also, avoid leaning your trunk and shoulders to the side as you take each step.
Forward Step-Down
Stand on top of a 6- to 8-inch step or small box. Place your hands on your hips. Hang one foot over the front edge. Perform a slow and controlled single-leg squat. Lightly touch or tap your heel to the floor before returning to the start position. Do 3 sets of 6 to 10 quality repetitions on each side.
This is a more advanced exercise that requires control and coordination. Also, without adequate hip muscle strength, you will be unable to control the eccentric (lowering) portion of the exercise. If the exercise is painful, you need more time to do the first 4 exercises.
Similar to the exercise above, you must maintain alignment between your hip, knee, and ankle. Do your best to not allow your knee to cave inwards. Also, avoid leaning your trunk and shoulders to the side.
See Your Physical Therapist to Learn More Exercises for IT Band Syndrome
The 5 exercises included here are a great place to start if you are suffering from IT band syndrome. We recommend you perform hip re-education exercises for IT band syndrome 3 to 4 days per week. Expect improvements in strength in just a few weeks. It will take a little longer for your movement patterns and pain to improve.
You may need different or more advanced progressions to maximize your improvements. Your physical therapist will help you find the right exercises. Also, if you experience any stiffness in your hips or knees, manual physical therapy will help restore your mobility.
The doctors of physical therapy at BSR have been helping people in Southern Ocean County move without pain since 2007. Contact one of our offices to schedule an initial evaluation with your physical therapist.